
Spring Hill AC Repair: 7 Steps to Fix Cooling Problems
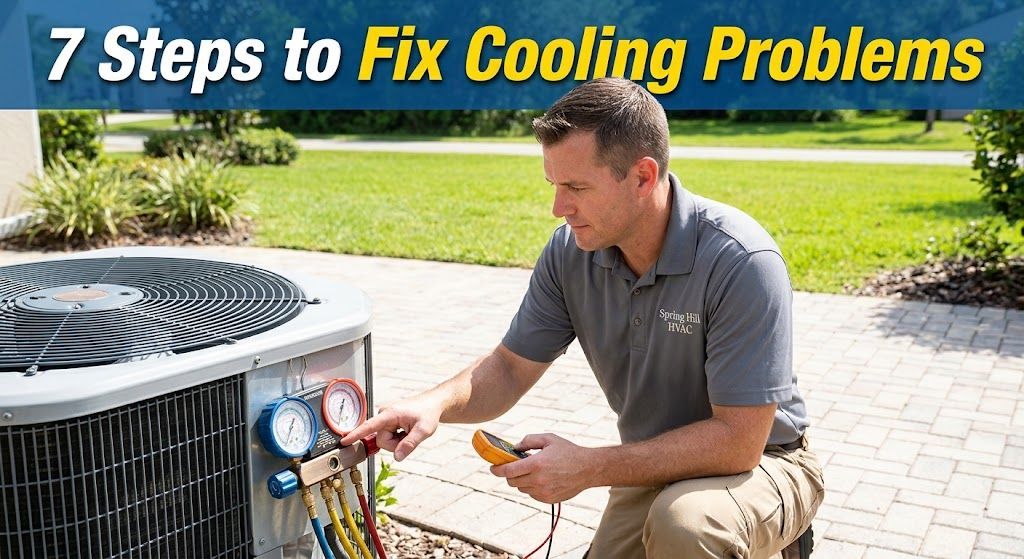
When the sub-tropical heat rolls across Hernando County, a functioning central cooling system is not a luxury—it is an absolute necessity for health, home integrity, and everyday comfort. When your cooling unit begins to blow lukewarm air, emit unusual grinding sounds, or shut down entirely during a mid-summer humidity spike, you need immediate answers. Knowing how to evaluate your system systematically saves time, prevents costly component damage, and helps you determine when a quick DIY adjustment works versus when certified professional intervention is required.
Understanding How Florida Heat Affects Your AC Unit
Central air conditioning systems in Hernando County run significantly longer and under higher head pressures than systems in northern states. Operating in prolonged ambient temperatures exceeding 90 degrees Fahrenheit alongside high relative humidity places tremendous stress on compressor motors, run capacitors, and indoor evaporator coils.
Understanding the fundamentals of Spring Hill AC repair allows homeowners to recognize subtle early warning signs—such as minor temperature swings, short-cycling, or elevated indoor moisture levels—before they cascade into complete compressor burnouts or total electrical failures.
7 Troubleshooting Steps for Common AC Failures
Step 1: Check Your Thermostat Settings and Power Delivery
Before suspecting a major mechanical breakdown, start at the central control point. Thermostats often lose calibration, experience dead batteries, or accidentally switch modes during power flickers.
- Verify that the thermostat mode is set explicitly to COOL rather than HEAT or OFF.
- Set the target temperature at least five degrees below the current room ambient reading to force a cooling call.
- Replace standard AA or AAA alkaline batteries inside the thermostat interface if the display appears dim or flickers.
- Inspect your home’s main electrical breaker panel. Air conditioning systems utilize two separate breakers: a double-pole breaker for the outdoor condenser unit and a single or double-pole breaker for the indoor air handler. Reset any tripped switches completely to the OFF position before flipping them back to ON.
Step 2: Inspect and Replace Dirty Air Filters
Restricted airflow is the leading cause of frozen evaporator coils, short-cycling, and premature compressor failures. High airborne dust and seasonal pollen quickly clog standard pleated media filters.
When air cannot freely pass across the indoor cooling coil, system pressure drops dramatically. This pressure drop forces the refrigerant temperature inside the coil below the freezing point, causing ambient condensation to freeze solid along the aluminum fins.
Check your return air filter monthly during peak cooling months. Replace any media filter that shows visible particulate accumulation or light blockage.
Step 3: Clear the Condensate Drain Line
High indoor humidity requires your air conditioner to remove gallons of water vapor daily from your indoor air. This moisture collects in a drip pan under the indoor coil and drains outside through a PVC condensate pipe.
Over time, algae, mold, and dust sludge form inside the condensate drain line. When a clog occurs, modern systems trigger a safety float switch that immediately cuts high-voltage power to the outdoor compressor to prevent ceiling water damage.
- Locate the condensate drain access port near your indoor air handler.
- Pour one cup of plain warm water or white distilled vinegar into the access tee to dissolve organic sludge.
- Use a wet/dry shop vacuum attached to the exterior condensate drain exit pipe to draw out stubborn clogs and standing water.
- Clear any standing water from the primary drain pan to allow the automatic safety float switch to reset.
Step 4: Clean the Outdoor Condenser Coils
The outdoor condenser unit releases heat absorbed from inside your home into the surrounding outside air. Grass clippings, dirt accumulation, pet hair, and salt air corrosion insulate the exterior copper tubing and aluminum coil fins, preventing heat exchange.
When heat cannot escape, system operating pressure skyrockets, causing the compressor to overheat and shut off on internal thermal overload.
- Turn off all electrical power to the outdoor unit via the adjacent wall disconnect box before cleaning.
- Clear away tall grass, weeds, leaves, and landscaping materials within a two-foot radius around the cabinet.
- Use a gentle garden hose stream directed at a downward angle to flush dirt and debris out through the exterior fins. Never use high-pressure power washers, which bend fragile aluminum coil fins and permanently restrict airflow.
Step 5: Examine Electrical Components and Run Capacitors
Run capacitors act as short-term storage batteries that deliver initial electric torque to start compressor and condenser fan motors. Florida’s intense heat cycles gradually degrade the internal electrolyte dielectric inside these components.
Signs of a failing capacitor include:
- A clicking noise originating from the outdoor unit without the motor starting.
- A humming noise accompanied by a fan blade that refuses to spin autonomously.
- A visibly swollen, bulged, or leaking capacitor casing inside the electrical panel.
Caution: Capacitors store high voltage charges even when power is turned off. Internal electrical diagnosis and replacement should always be handled by a certified technician.
Step 6: Monitor Refrigerant Levels and Leak Symptoms
Air conditioning systems are closed-loop chemical circuits. Refrigerant is not "used up" or consumed during normal operation like fuel in an automobile. If your system is low on refrigerant, an active chemical leak exists within the copper line set, evaporator coil, or condenser joints.
Key symptoms of a refrigerant leak include:
- The system runs continuously 24/7 without reaching the set thermostat temperature.
- Warm or room-temperature air blows out of the supply registers.
- Hissing or bubbling noises near the indoor air handler or copper lines.
- Ice buildup along the outdoor brass service valves and insulated copper suction line.
Operating a system that is low on refrigerant starves the compressor of necessary motor cooling, leading to permanent mechanical damage.
Step 7: Address Ductwork Disconnections and Air Distribution Problems
Sometimes the air conditioner produces cold air perfectly, but damaged or leaking ductwork prevents that air from reaching living spaces. Flex ducting in hot attics can sag, tear, or disconnect at supply plenums over time.
Inspect visible duct runs in accessible attics or utility spaces for loose foil tape, deteriorated duct mastic, or physical tears. Repairing air leaks ensures cooled air reaches bedrooms and living areas rather than conditioning your uninsulated attic space.
When to Seek Professional Support
While routine air filter changes, surface cleaning, and basic thermostat checks fall within typical home maintenance, complex mechanical and electrical diagnostic work requires professional equipment and EPA certification.
Attempting complex DIY fixes on high-voltage electrical contacts or sealed refrigerant lines risks severe personal injury, voids manufacturer warranties, and can cause permanent system damage.
When simple steps fail to resolve cooling interruptions, contacting a trusted provider for comprehensive Spring Hill AC repair ensures your home's system is evaluated safely with calibrated digital gauges, leak detectors, and diagnostic tools.
Preventive Steps for Year-Round System Efficiency
Preventive care is the most effective strategy for avoiding unexpected system breakdowns during heatwaves. Adopting a proactive maintenance routine keeps utility bills manageable and extends total equipment service life.
- Schedule Bi-Annual Maintenance: Professional precision tune-ups in spring and autumn ensure electrical connections are torqued, motor ampers match specification, and coil performance remains optimal.
- Upgrade to a Programmable or Smart Thermostat: Scheduling temperature setbacks while you are away reduces daily run hours without sacrificing comfort when returning home.
- Maintain Clear Airflows Indoors: Keep supply registers and return air grills unblocked by furniture, curtains, or rugs to preserve proper system static pressure.
- Monitor Monthly Utility Charges: Sudden, unexplained spikes in monthly electricity bills often serve as an early indicator that an air conditioning component is straining under mechanical load.
By maintaining regular inspection routines and responding promptly to initial warning signs, you protect your indoor home comfort and prolong the operational lifespan of your cooling system through every season.